Custom Tags #
To use custom tags within teddyCloud, you need to obtain specific tags and follow these steps.
1. Buy specific tags #
The Toniebox only accepts specific tags that meet the following criteria:
- Type: SLIX-L
- Privacy-Mode
- UID length: 16 characters
- UID starts with: E0 04 03
Note: Only a specially patched version of the CC3200 accepts other SLIX NFC tags.
(OPTIONAL) 2. Read and save the tag ID #
Once you place a new tag on the Toniebox, it will automatically activate privacy mode on this tag, making it unrecognizable by other NFC readers. Privacy mode must be deactivated beforehand.
If you want to save the tag ID for later use, please use a common NFC tag reader (e.g., via an iOS or Android app).
3. Place the new NFC tag on the Toniebox #
Place the new custom NFC tag on your Toniebox for the first time. (The Toniebox will respond with an error code, but that’s fine for now since no custom play has been assigned yet.)
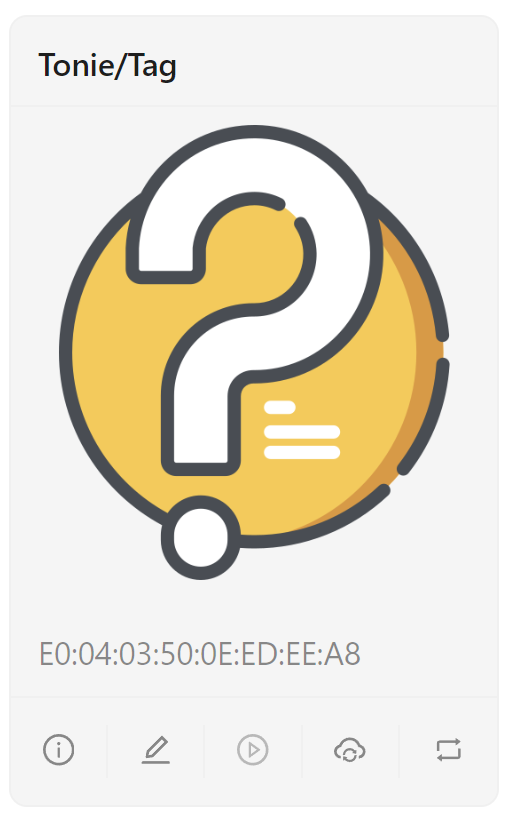
Check the teddyCloud GUI: Filter for last played tags to find the unknown tag you recently placed on the Toniebox.
4. Assign content #
Now you can assign content to the new custom tag:
- Click on the “Edit” button.
- Choose a source from your library.
- Click on “Save”.
- Press and hold one of the Toniebox’s ears for 3 seconds to perform a freshness check. After that, your new custom tag should work.
5. Change the name and picture of the custom tag #
If you want to change the name and picture of your custom tag, follow these steps:
- Create a new “Model” as described in tonies.custom.json config and save it to your
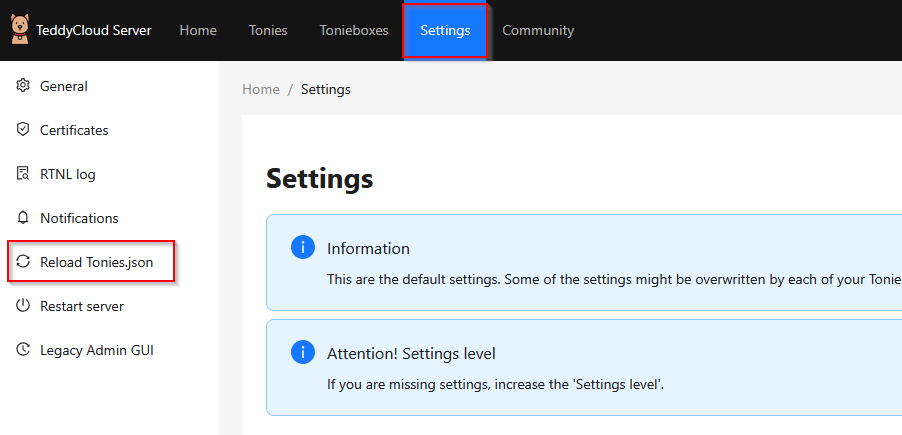
tonies.custom.jsonfile. - Go to the teddyCloud GUI, click on “Settings” and then “Reload Tonies.json”. Afterwards, the added entry will be available for selection.
- Edit your custom tag again, insert the unique ID you assigned to your new model, and click on “Save”.
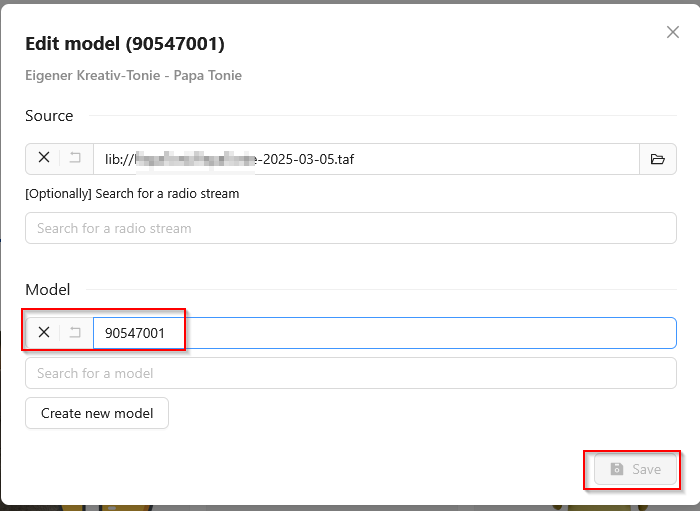
The name, description and picture should now be updated.